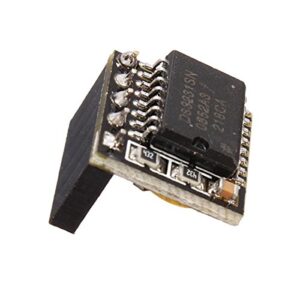
Adding a Real Time Clock module to a Raspberry Pi can solve issues about time synchronization when an Internet connection is not available. If your Raspberry Pi is not always connected to the Internet, and its system time messes up, you can install and configure a Real Time Clock module (RTC). This post shows how to install and configure a DS3231 module on a Raspberry Pi.
When a Raspberry Pi is unplugged from the main power, its system time will reset on start-up, and then synchronized by exploiting the NTP protocol. If you have no Internet connection, it can cause a lot of issues for certain application, such as sensors monitor and logging. This problem can be solved by the exploitation of a real-time clock module.

After a little search on the web, I found the best guide for setting up the DS3231 real-time clock (RTC) module on the Raspberry Pi 3, here summarized.
Prerequisites
The following is tested on:
- A Raspberry Pi 3 mod B+, with Raspbian Stretch
- A DS3231 module, which can be bought here (amazon.it link).
Wiring the module
The DS3231 module can be physically installed using the adjacent pins 1-3-5-7-9 on the Raspberry Pi 3.
Software configuration
After that, only two steps are required:
- put the below line into the /boot/config.txt file:
dtoverlay=i2c-rtc,ds3231 - edit the /lib/udev/hwclock-set file, so as to remove (or comment out) the following lines:
if [ -e /run/systemd/system ] ; then
    exit 0
fi
Testing
After reboot, you can test if all is ok by the command:
$ sudo hwclock -r
which will show the current time from the RTC module.
For further testing, you can try to disable network connection, shutdown the system, unplug the power cable, wait for a few minutes and then power on the raspberry. Finally, use the command:
$ date
for retrieving the system time and verifying if it is consistent with the actual time.
This is it.
Main source: The Raspberry Pi forums

Leave a Reply